Introduction:
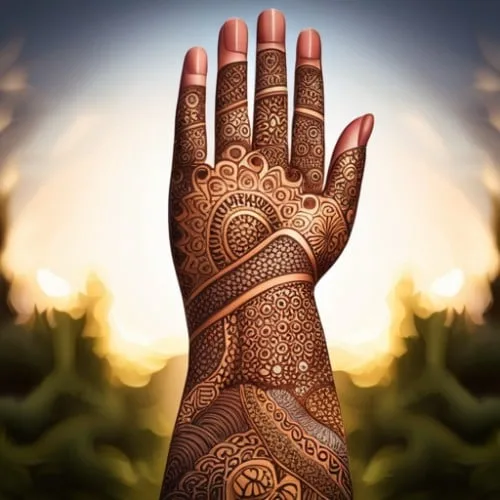
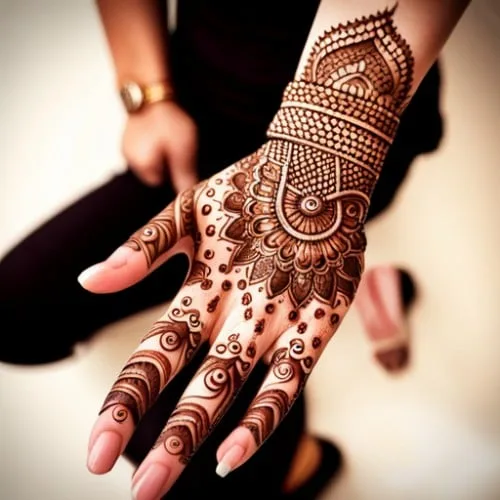
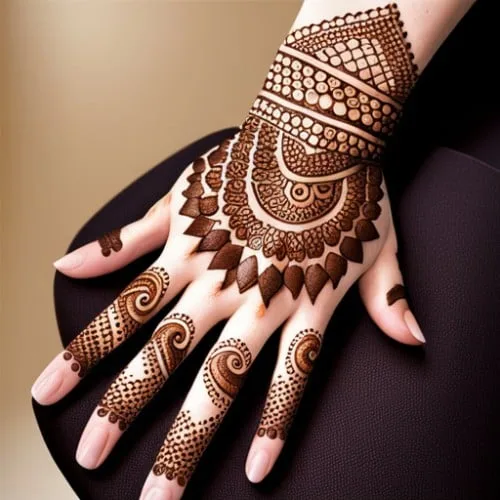
Mehndi, also known as henna, is a beautiful form of body art that has been cherished for centuries. It’s a traditional practice in various cultures, especially during festivals and weddings. Creating simple mehndi designs can be a delightful and creative experience, even if you’re a beginner. In this step-by-step guide, we’ll walk you through the process of drawing stunning mehndi designs that are perfect for beginners and special occasions.

Step 1: Gather Your Materials
Before you begin, ensure you have the necessary materials:
Fresh henna paste (readily available in most craft stores)
A henna cone or plastic squeeze bottle
A clean, dry surface for applying the mehndi
Cotton balls, lemon juice, and sugar (for aftercare)
Step 2: Prepare the Henna Paste
Knead the henna cone or prepare the paste according to the package instructions.
Allow the henna paste to sit for a few hours to develop a rich, dark color.
Step 3: Start with Basic Shapes
Beginners should start with basic shapes like dots, lines, and circles. Practice these shapes on a piece of paper before moving to your skin.
Step 4: Simple Floral Design
Draw a small central circle on the palm or back of your hand. Add petal shapes around the circle to create a simple flower. Extend these flowers into a vine-like pattern.
Step 5: Create Paisley Patterns
Paisley patterns are popular in mehndi design. Draw a paisley shape and fill it with small dots, lines, or simple motifs.
Step 6: Concentric Circles
Draw a series of concentric circles on your palm or the back of your hand. Fill the gaps between the circles with small lines, dots, or leaf shapes.
Step 7: Add Intricate Details
As you gain confidence, you can add more intricate details like leaves, vines, and additional motifs around your basic design.
Step 8: Let It Dry
Allow the mehndi to dry completely, which may take a few hours. Avoid smudging during this time.
Step 9: Seal and Remove
To intensify the color, mix lemon juice and sugar and apply it over the dried mehndi. Scrape off the mehndi gently with a butter knife or your fingernails.
Step 10: Enjoy Your Mehndi Design
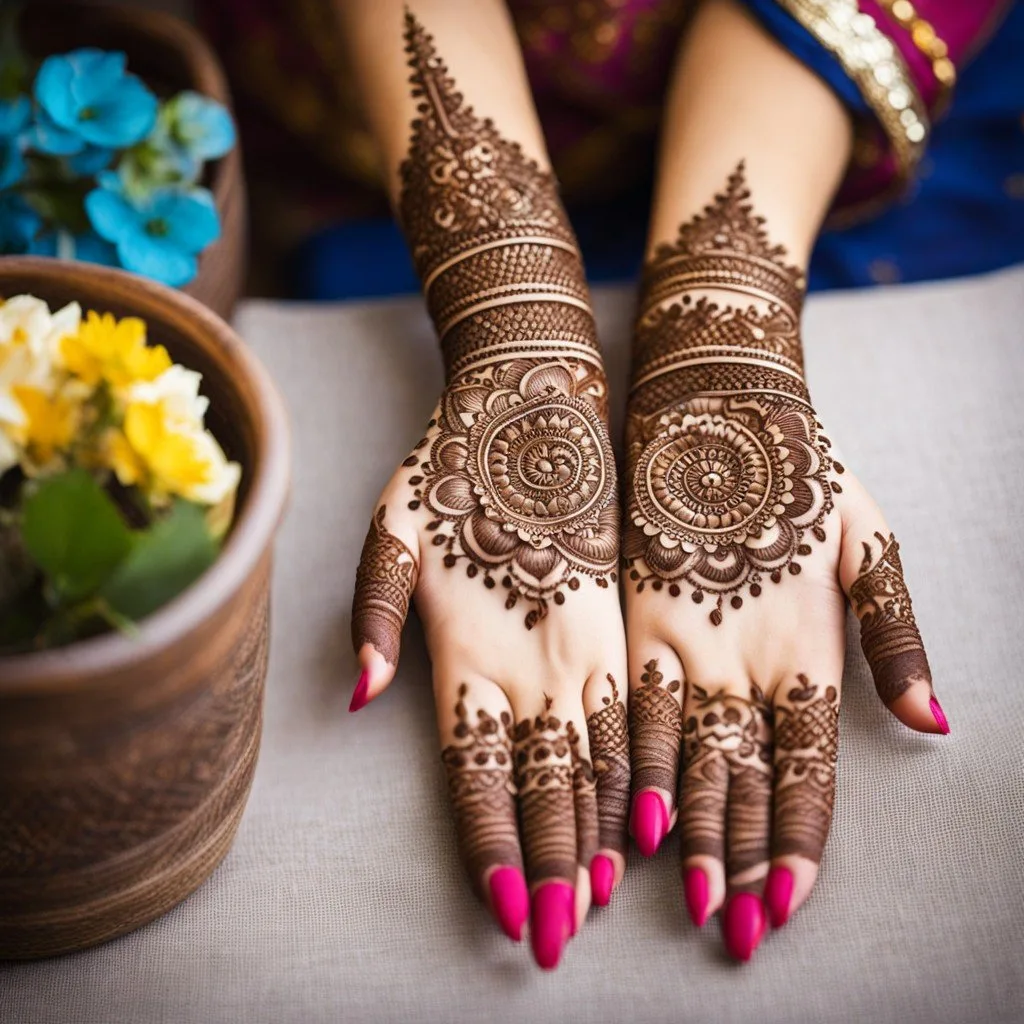
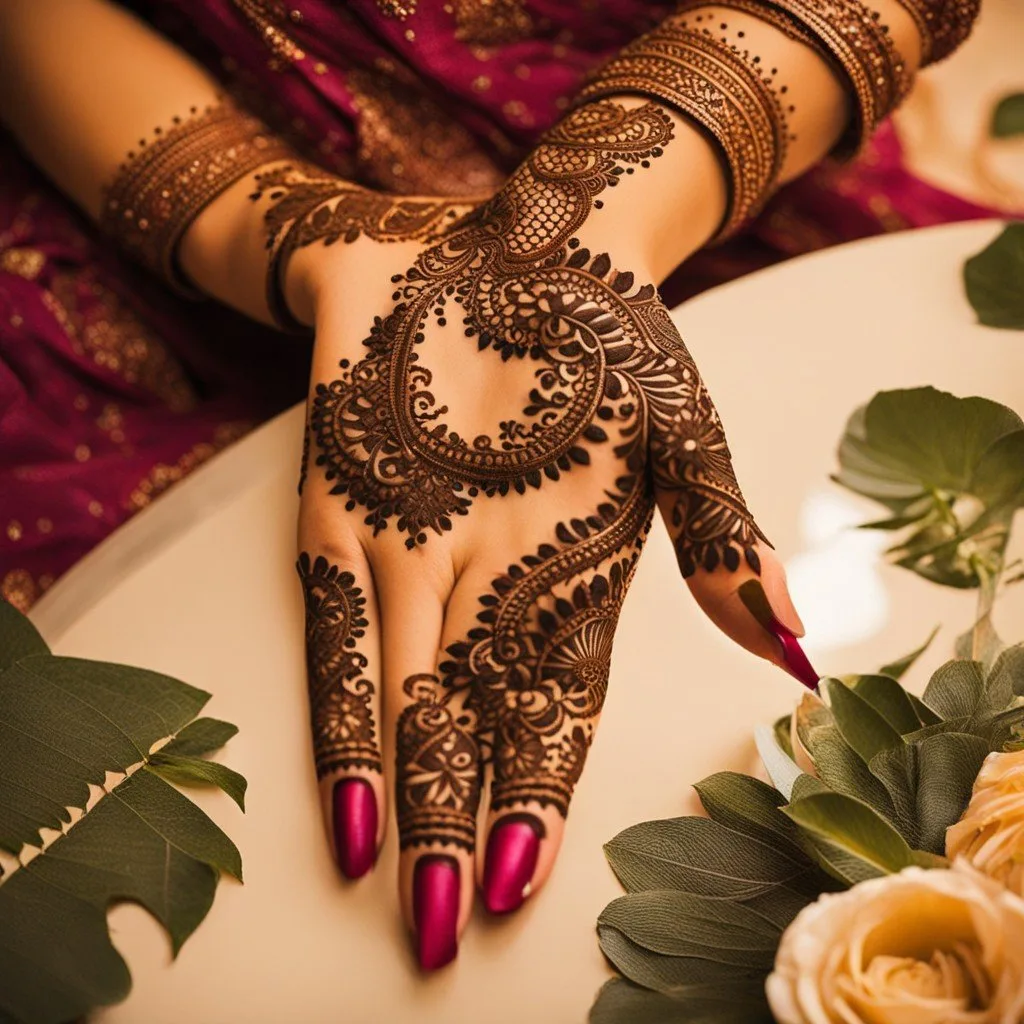
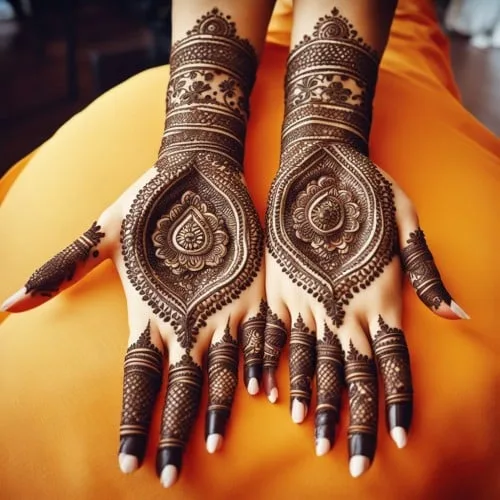
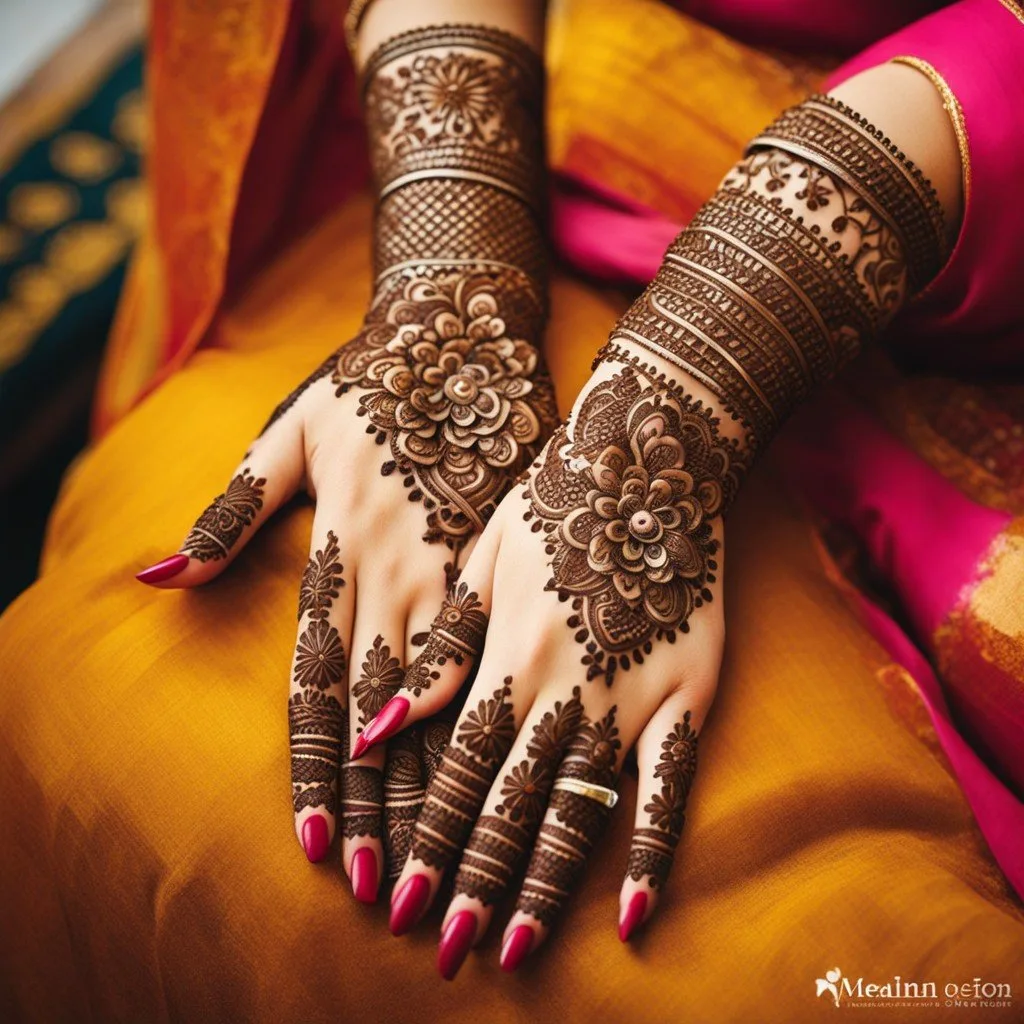
Once the mehndi design has dried and you’ve removed the flakes, you’ll be left with a beautiful, reddish-brown henna stain. Your mehndi design is now ready to be showcased at your special event.
Conclusion:
Creating simple mehndi designs can be a rewarding and enjoyable experience, even for beginners. With practice, you can explore more intricate patterns and designs to enhance your skills. Whether it’s for a festival, wedding, or simply to express your creativity, mehndi art is a beautiful way to ador
n yourself and celebrate tradition.